
Well, I bit the bullet and decided I really needed to learn how to do surface mount, so I went and bought this Sigma R700 Hot Air rework station from Amazon. L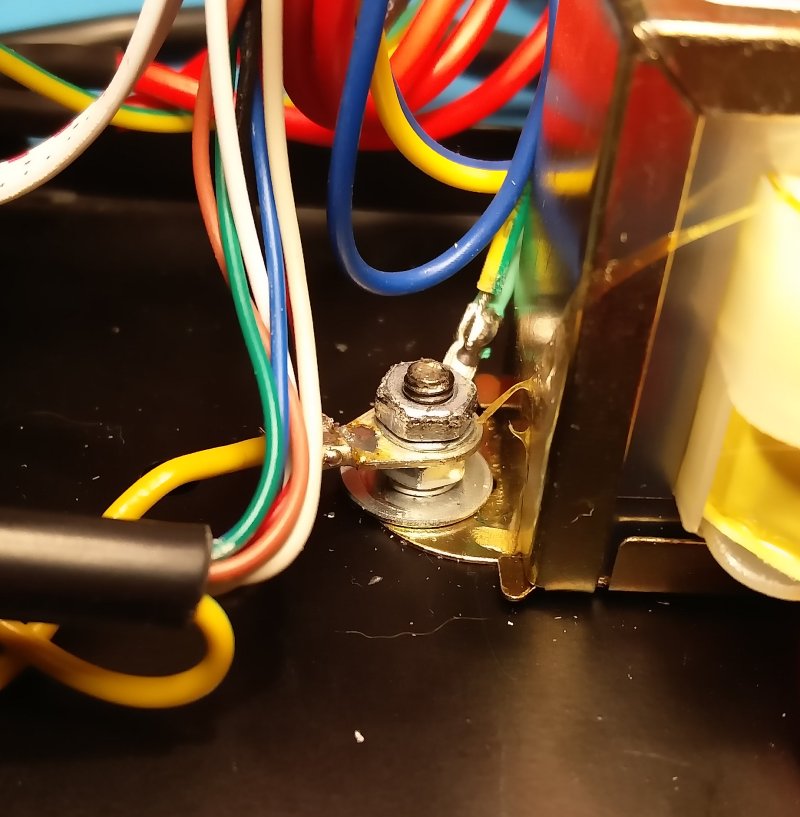 ooks to be an exact clone/rebrand of the really popular 858D, but for C$75, it seemed like a deal. Now that I’ve got it, it seems to do what it’s supposed to do, and lacking any comparative tools to try it against, I’ll call it great. Weirdly after buying it, a whole bunch of fraud-sellers appeared on amazon.ca selling it for $25, but then they all disappeared, and now all I see is the 858 for similar money.
I have seen a couple of warnings about poor grounding, and I thought while I was writing this I should probably should take it apart to check, so I changed the ground routing for the nozzle straight through to the ground lug on the transformer. Dave did a review of a very similar (but has a different PCB to mine) 858D version, which is worth watching. Anyway, onto actually using it….
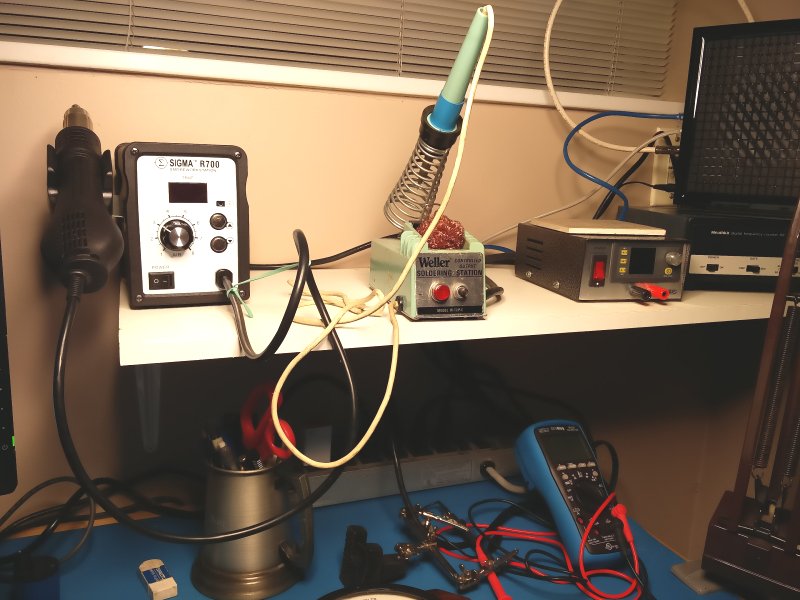
Of course this all meant that I started to run out of room on my desk, so I built a little shelf to put my soldering equipment and PSU on, and it leaves more room for the meters and what I’m working on further down. Amazing how one thing always seems to lead to another.
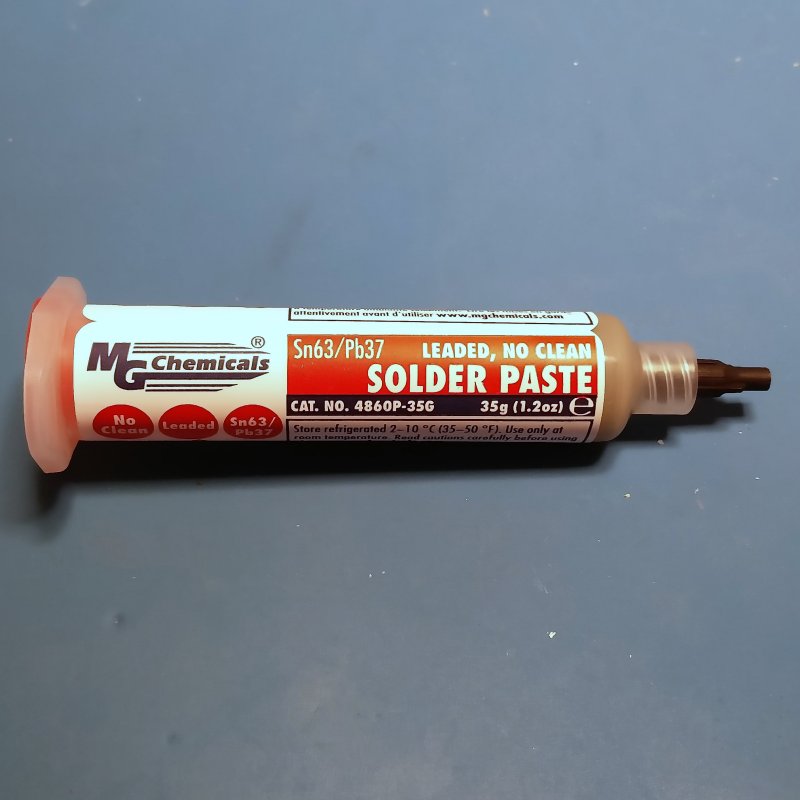
Anyway, onto soldering, but of course I needed some solder paste, so a quick Amazon prime (ordered at 10:30 one night, delivered the next day) for some MG Chemicals solder paste (really not worth skimping on some off-brand with solder), and I got to work. I had watched a bunch of various videos, but developed my own system of small blobs of solder paste, and then hitting it up with the hot air gun. I keep the solder paste in the fridge (apparently it will last longer), but didn’t really give it enough time to fully warm up, it is a little easier to work with when it’s room temperature.
Below are a couple of photos of my handywork, and it’s actually quite a bit easier than I ever expected. By trial and error I discovered that I need a little less solder paste than expected, and by waving the magic wand (hot air blower) over the board for a few seconds it all nicely melted into place. I was working with 0805 resistors, and sot23 FETs so I suppose things could be more difficult, and I noticed this kit on Tindie for those really inclined to try and punish themselves.
 In the end I think it all turned out pretty well. The components are soldered into place, and it doesn’t look like too much of a botch job. On the top side for fun I decided I’d
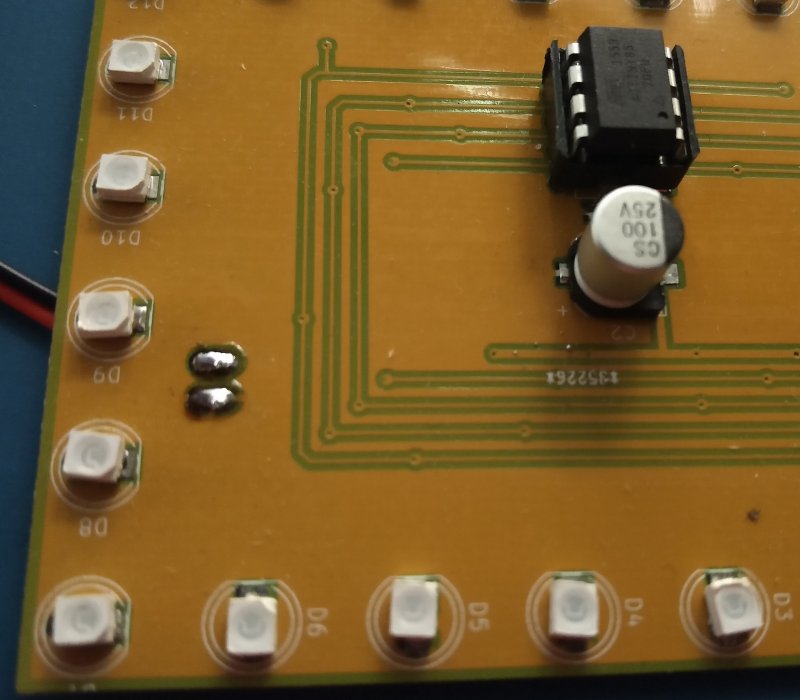 try puting some SMT LEDs in the place of where the through-holes would have gone. You end up using a little more solder than normal as some goes down into the hole, but it also seemed to work pretty well (although I did get a couple of LEDs in backwards the first time.. That’s pretty easy to mess up).
The observant people out there will also notice I missed two traces on my PCB, I’ll let you try and locate the jumpers.