Furnace Woes

Woke up yesterday morning to a gas furnace that wouldn’t light. It’s an older Bryant (Carrier), but it has been working well, and we don’t burn enough gas over the year that the $5,000 investment in a new one would be worth it.

Step 1, let’s see what is and isn’t working.

  • Main fan seems to be working on power up – CHECK
  • Inducer fan is running prior to attempting to light – CHECK
  • Ignitor lights (glows) – CHECK
  • Gas valve isn’t opening – THERE’S YOUR PROBLEM MURIEL

It doesn’t appear to open the gas valve – Hmmm. Now all of the connections run from the various parts to the control board on an edge connector, it couldn’t be that easy could it? Out with the Deoxit, quick spray, no difference.

Next, let’s buzz out the gas valve. Is there resistance? Yep, should be good. Disconnect the gas valve from the board and try it straight across the 24V from the transformer that powers the circuit board, and the gas valve opens.

That means something is up on the main board. Seems to be a pretty popular board (Carrier CES0110057-01). to the point where there’s a company (ICM Controls) making a compatible board ICM281, for a pretty decent price — if you happen to live in the USA — sadly it’s nearly double here in Canada; over $400, but still better than the $700 the furnace guys all quoted.
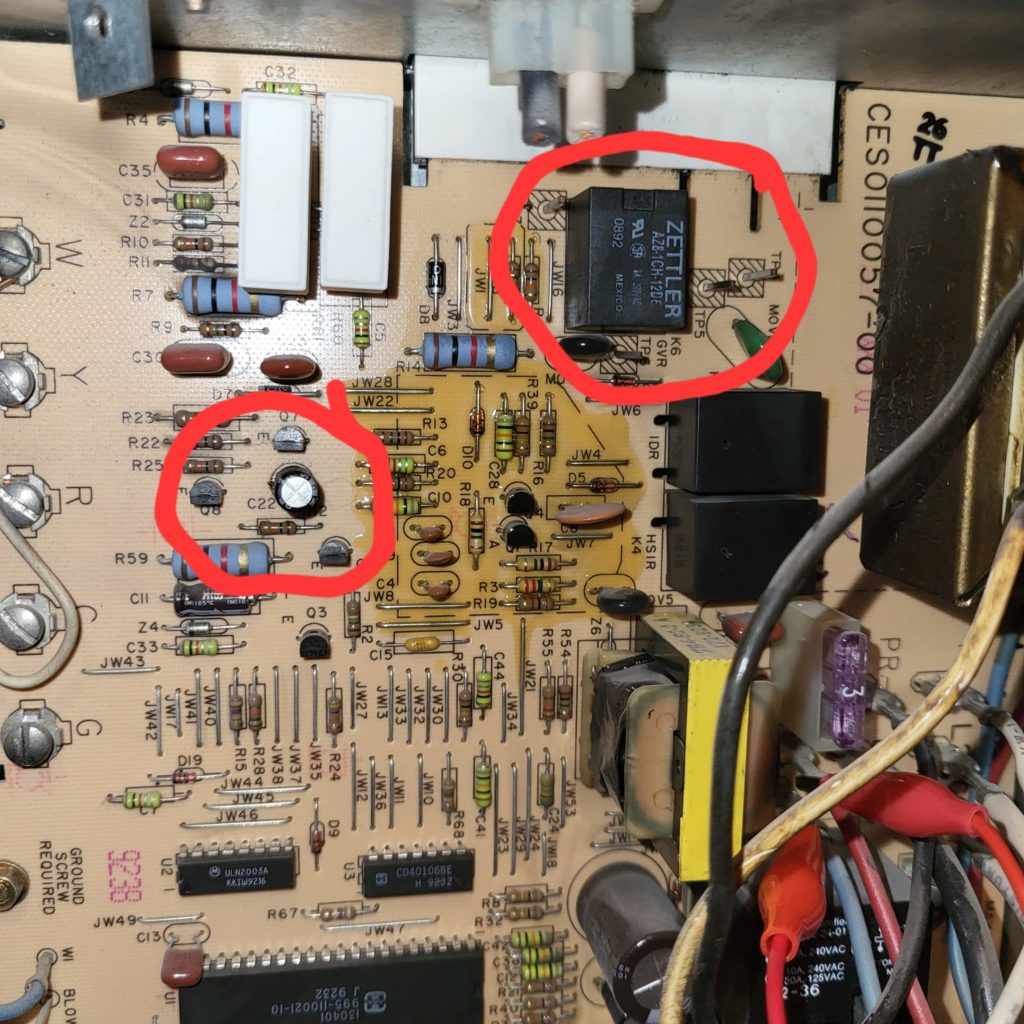
Carrier CES0110057

My initial guess is that it’s the relay, well relays are cheap, I even have one in the parts bins I could use, so let’s give that a whirl before we drop $400 on a new board. Pulled the board out, desoldered the relay (Zettler, a brand I’d never heard of before), and tried it on the bench. click click click, the relay is just fine. Damn.

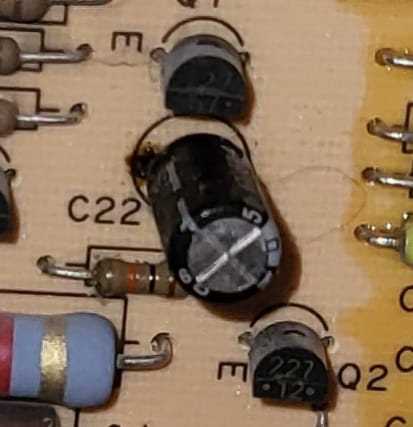
leaky leaky

Let’s make sure everything driving it is OK. Traced the connections back to a capacitor, and hey, what’s this, looks like maybe this capacitor has let go after 25yrs. Desolder the cap, and sure enough there’s electrolyte leaking out the bottom. Clean off the board with some isopropyl, and drop in a new cap from the parts cabinets (47μF/50V). A new 5¢ capacitor certainly isn’t going to do any harm.
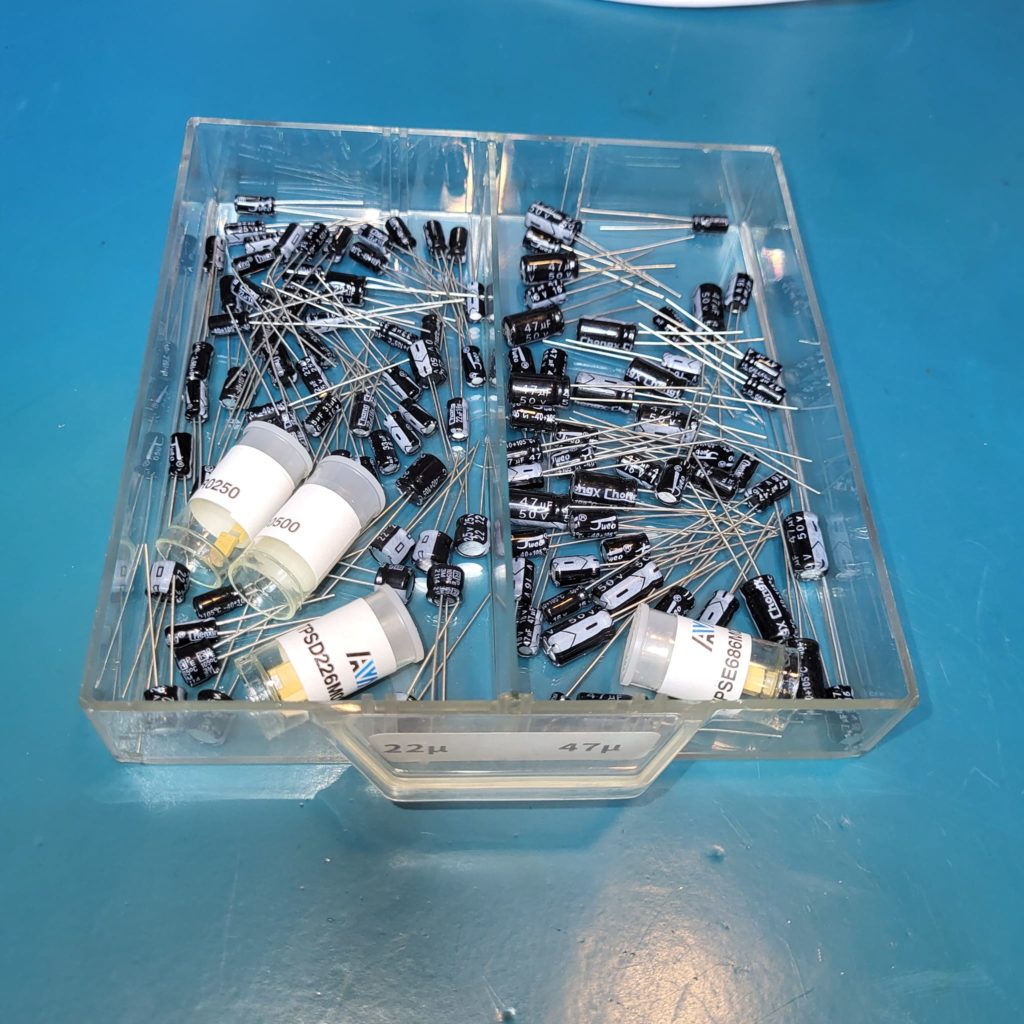
spare 47u capacitors

Re-installed the control board, and what do you know, it fires right up first time. YAY !

Now off to put on a nice cup of tea and write a blog post about this….
Auction find; LED Sign

I pickFull RGB displayed up three of these interesting full RGB display signs from a local government auction; and while I haven’t done a lot of picking apart just yet, it looks like it’s completely tied to proprietary software. The company that built it the internals appears to be an Australian company that’s no longer in business. It’s beautifully bright, all the LEDs seem to work, and it’s powered by a very impressive 40 amp 5 volt power supply.  
sign2

All sorts of IO.  Ethernet (no I haven’t hooked it up to the home network just yet), RS232 (there’s a 485 in/out not shown in this photo as well). Some custom peripheral port, and weirdly there’s an audio input that goes to the logic board, but it doesn’t contain any audio display; I’m guessing there’s some software based way of having it do sound triggered/modified displays.

There’s a main CPU board, that drives a secondary board, and then three identical LED driver boards. Anyway, this will be my next project, and if I don’t get anything else out of it other than a 1000 bright RGB LEDs and a 200W 5V power supply, I’m still ahead.


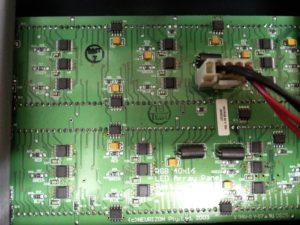
LED Driver
One of three LED driver boards

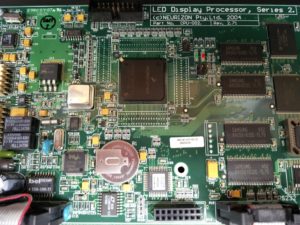
CPU
Main CPU

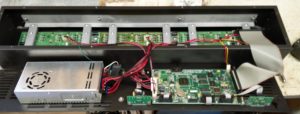
all
The whole contraption

Wow, I should post more

power supplyTime sure flies.  I haven’t posted here in a while, but I thought I’d upload a few pictures of the most recent hack around the bench.  Took my old Radio ‘Battery Eliminator’ (12V, 3A), and converted it into a constant voltage/constant current supply using a little module I got from China (link here)

Moved the transformer inside the power supply back to make a little more room, and added a supply line fuse (it had an output fuse already).  Once that was done, I hacked the front to make the new module fit and added a couple of binding posts, making sure of the 0.75″ spacing (unlike the last time I hacked something like this), and I think it turned out rather well. I may still add an internal fan if it gets too warm, but I don’t use enough current out of it for that to likely be a problem.


power meter

I had also heard that these things weren’t particularly accurate, so I was curious to see how close it really was.  I hooked up an LED bulb (supposedly 2W, but closer to 1), and the current showed 94mA and the meter (Yes, the BM235 from EEVBlog) shows 96.1mA so about 2.5% off, but that’s close enough for the stuff I do.  It will be nice to be able to limit current, and also to have a quick current display to glance over at, rather than having to hook up a meter when I want to read it.

Of course the picture also shows my 1970s vintage Weller W-TCP-L, which is still going strong 40 years on. I’ve bought new tips (mostly use a 700 small chisel – for PCB work, and an 800F larger chisel – for bigger work), and it’s a champ.

Now to get back to what I came downstairs to do, pack up a Tindie order.  THANKS GUYS for all the support.  I’m not getting rich selling on Tindie, but it’s still a thrill to get an email saying “you have a new order!”

Finished cleaning

The new parts drawers

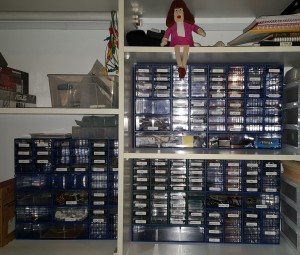
I bought myself a birthday present, even more parts drawers. You can see the original ones (lower set on the left) as they’re a slightly different blue, but I decided what the hell, I’ll just buy the local distributor out of the last of their stock. There were a couple of casualties in shipping (mostly the really big drawers), but only had to toss one (and deal with cracks in one other).

After much sorting, labelling, divider gluing and generally going “what the heck should I call that”, I’ve emptied all my little flip top bins, and now have well over a 100 little drawers of awesomesauce (yes it’s a word, just added to the OED).

I’m sure I’m the only person that stresses about what kind of label (Avery 02209; removable) to use, or even what font (Source Code Pro, lower case). Have to say I’m glad I hunted for the right label. They’re the right size, and as they’re the removable style, easy to peel off if you make a mistake.

What does your parts cupboard look like?

Cleaning

Decided I would re-purpose some drawer units I had in the garage into the electronics storage. Quite a few things I own are too big for my existing method of flat storage boxes; especially some of the nuts/bolts/screws type items which I kept in the garage anyway.

Add-a-Drawer
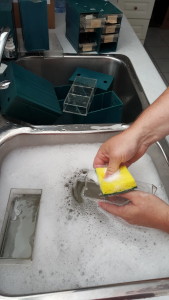
Cleaning Storage Drawers

So, I relocated the drawer units in from the garage and gave them all a good wash. It’s amazing how dusty/cobwebby (is that a word?) it is in the garage. 20+ yr old labels needed cleaning off, but they seem to come off with some soaking. Some of the drawers I’ll continue to use for their original purpose (small nuts/bolts/screws/standoffs/grommits), but there are a few things that just don’t fit in my flat boxes very well (heatshrink, feet, stuff like that) that I’ll transition over.

These [Integrated Plastics Add-a-Drawer] really are the best drawer units I’ve ever come across, and I’m still kicking myself for having given away a bunch of them to the local college when I moved 12 years ago; oh well. Apparently Tenaquip still sell them even though the original company that made them is long gone; maybe I’ll buy another unit to add to what I have already, for now I’ll just keep an eye on Craigslist/Kijiji in case someone is selling some. If anyone does have any and they’re interesting in giving them up, give me a buzz…